How to complete registration
Before businesses can start using Wirex Business, they need to complete a quick registration process. This article walks you through each step, starting from creating your account to setting up essential security features. Let’s begin with how to register your account.
1. Start Registration
Enter and submit your email address.
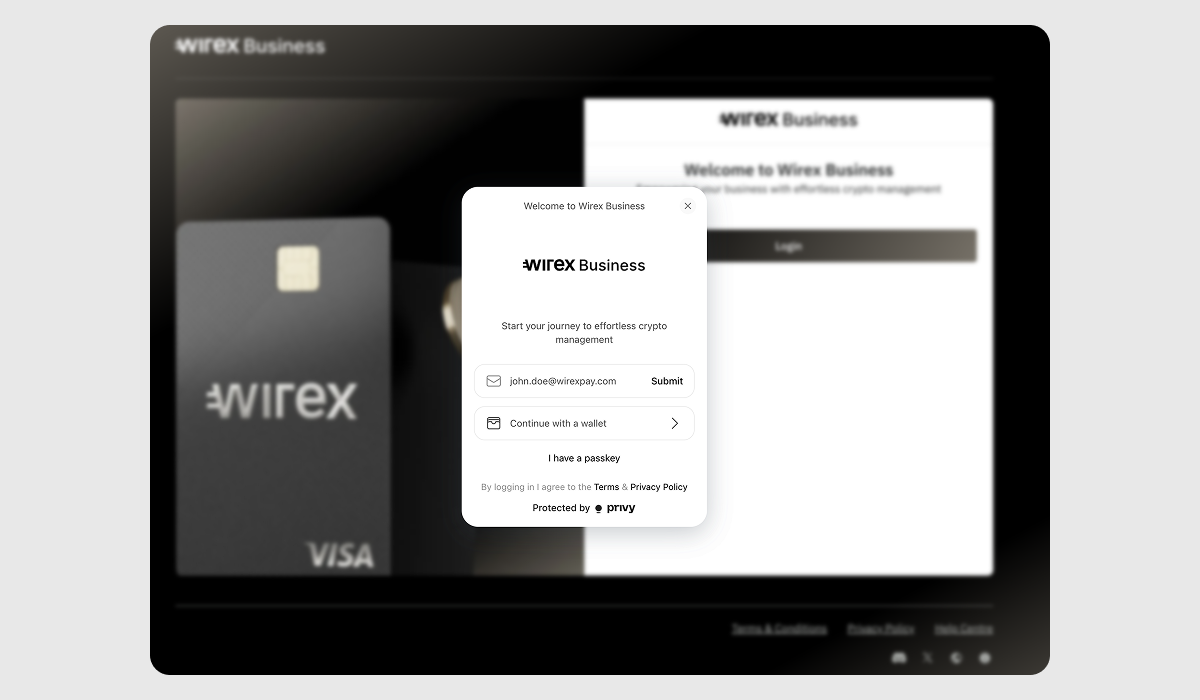
During this step, you can already Connect with your wallet. Please refer to our dedicated guide on Connecting your wallet to Wirex Business.
2. Verify Email Address
Enter the 6-digit code sent to your email to confirm it's valid.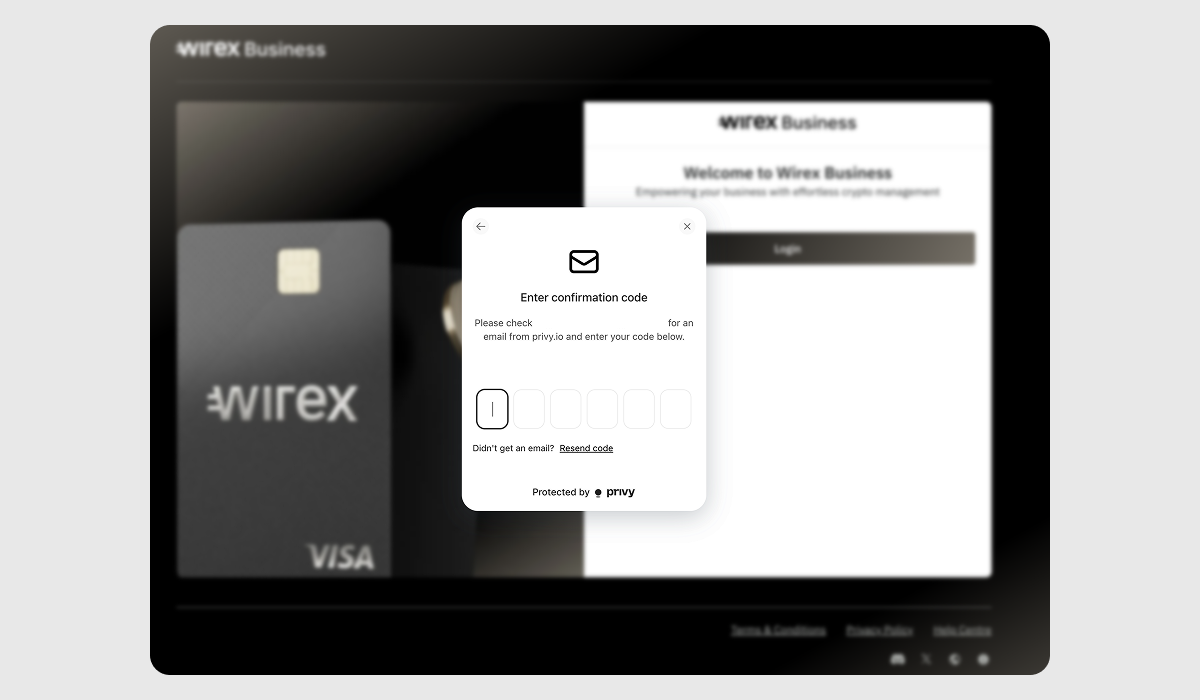
If you haven’t received the verification email within a few minutes, check your spam or junk folder first. Make sure the email address you entered is correct, and try resending the code. If the issue persists, contact our support team via web chat.
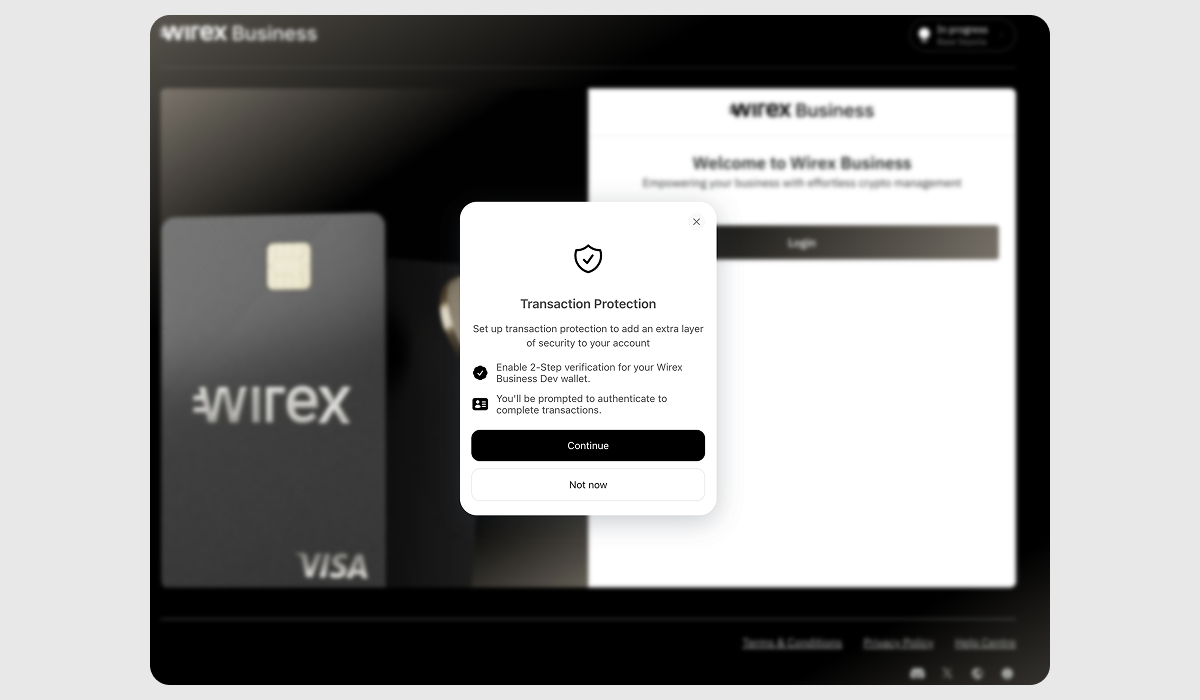
3. Set Up Two-Factor Authentication
Start securely by adding an additional protection to your account. This step is optional, but we highly suggest completing this at the start of your journey.
4. Choose Authentication Method
Use either an authenticator app (e.g. Google Authenticator or Authy) or a passkey.
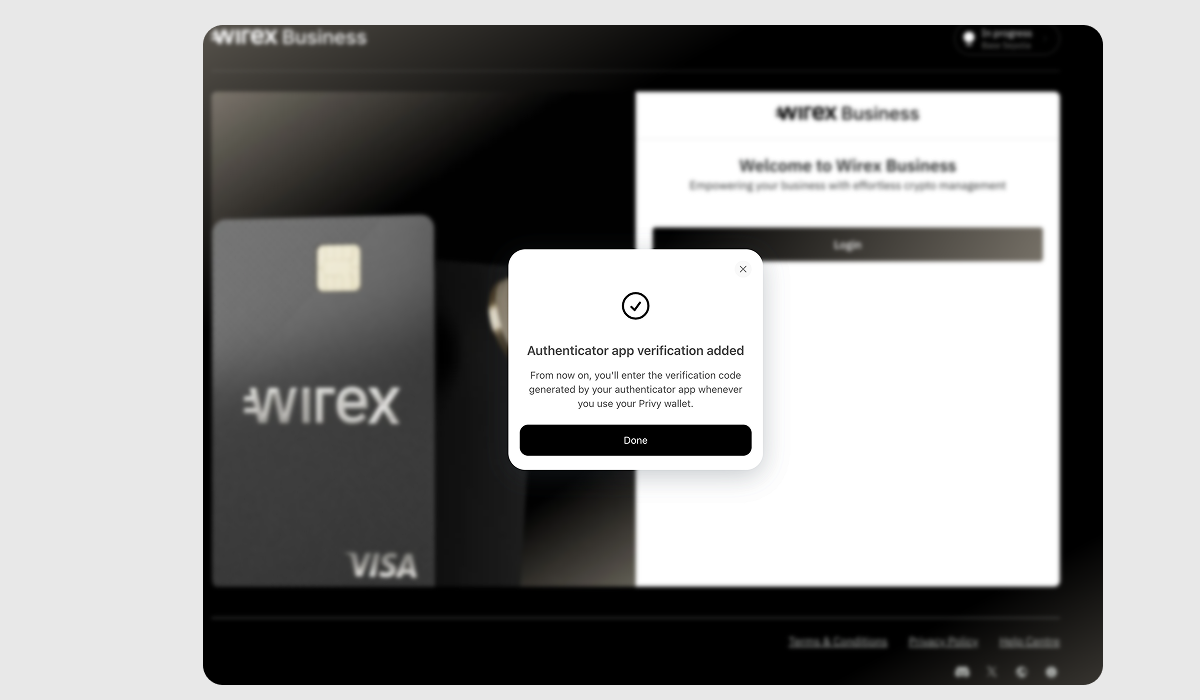
If you're using an authentication app, scan the QR code, click continue, and enter the 6-digit code.
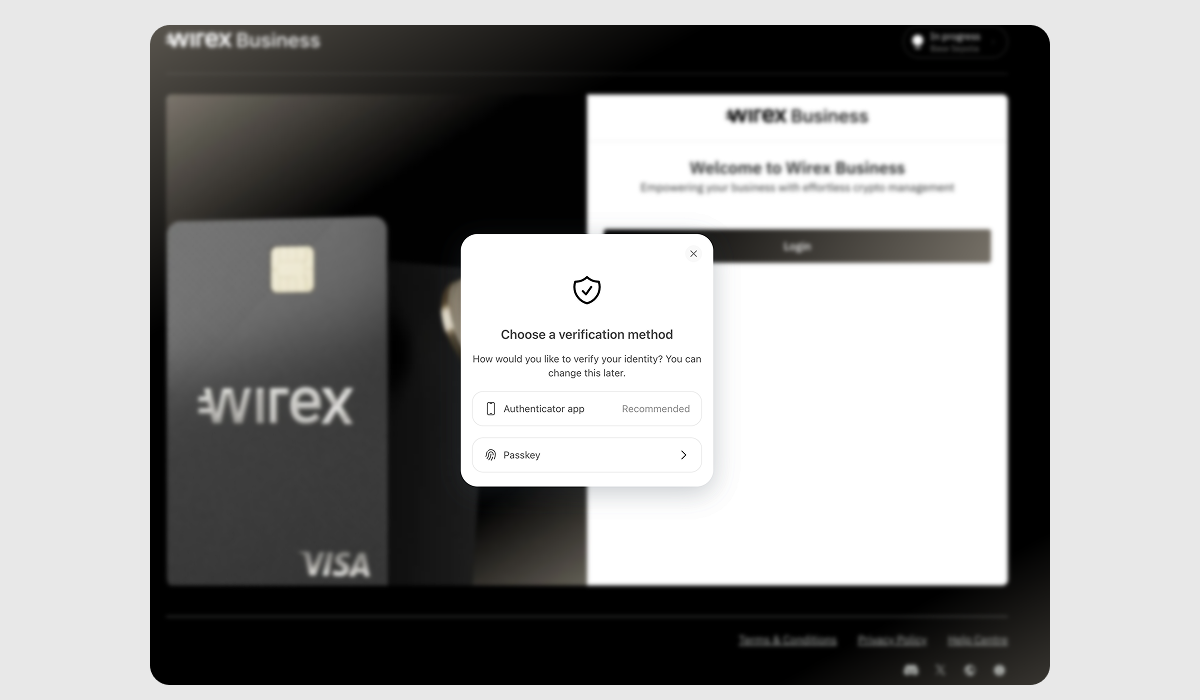
A success message will confirm that you've successfully enabled the 2FA.
See our dedicated article on How to enable Passkey.
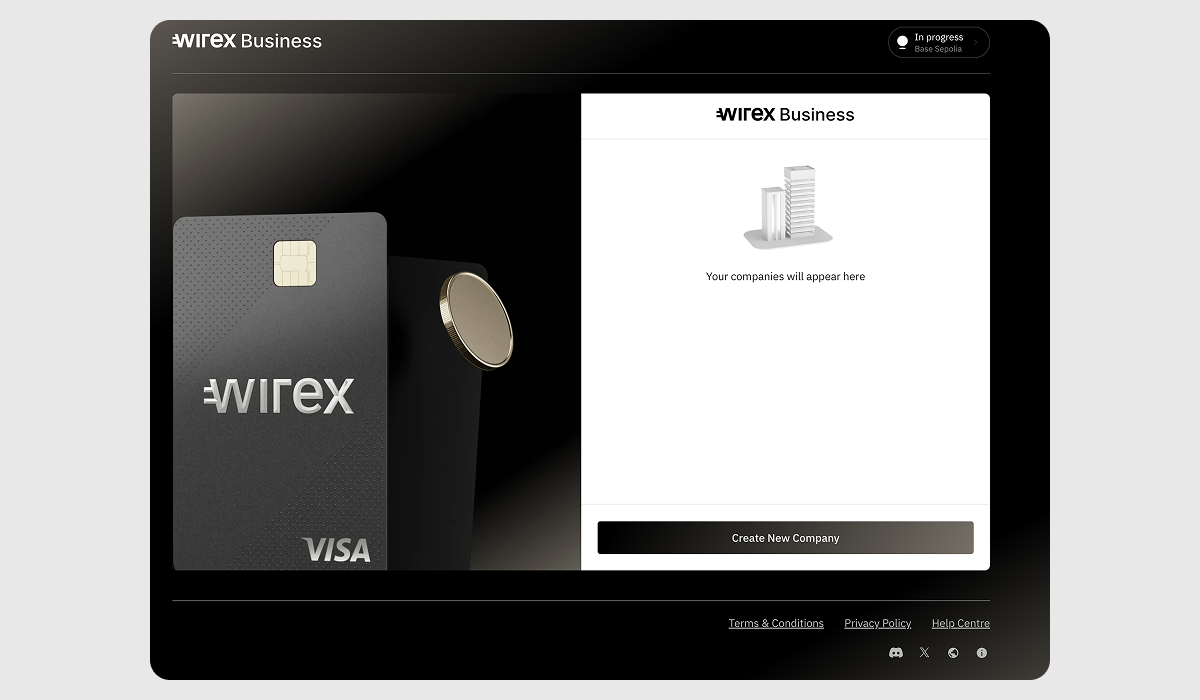
6. Create a Company Profile
After registration, click "Create New Company" from the homepage to get started.
7. Complete Initial Setup
You'll go through three steps to initialize your business account:
7.1 Create a Smart Wallet – Generate a wallet for your company’s transactions.
7.2 Link Wallet to Account – Connect the wallet to your Wirex Business account.
7.3 Register in Smart Contract – Register the wallet within a blockchain-based smart contract system.
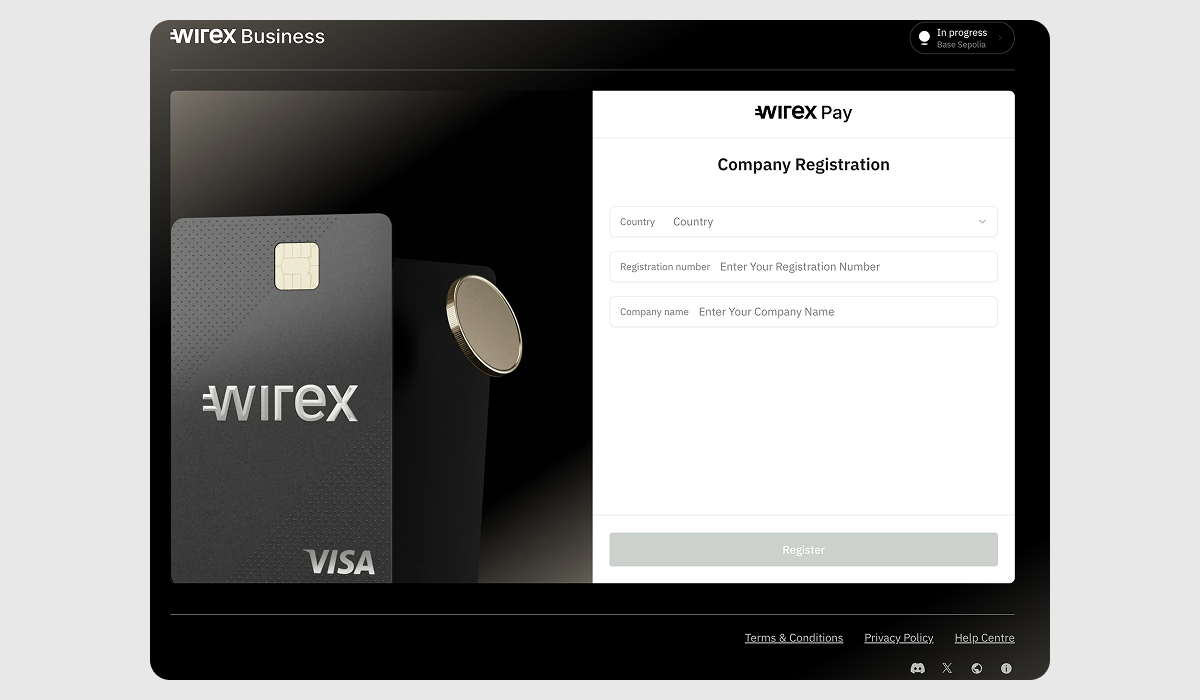
8. Enter Company Details
Provide the country where your company is legally registered, the registration number (also known as a company number or business ID that your company received when it was officially registered) and company name.
9. Done
Congratulations! Your company account is now created.
Next, it’s time to verify your business through the KYB (Know Your Business) process. Here's a step-by-step guide on How to complete KYB.
Was this article helpful?
That’s Great!
Thank you for your feedback
Sorry! We couldn't be helpful
Thank you for your feedback
Feedback sent
We appreciate your effort and will try to fix the article